How to Edit Your PDFs
A complete guide to customizing your cards — from filling in text to adding your own images.
To avoid downloading PDF files one by one, simply click on the Drive folder you want to download. With the toolbar expanded, click the icon shown below: Google will compress the entire folder contents into a ZIP file and the download will begin after a few minutes.

With few exceptions, two fonts have been used across all cards: Charcuterie Block and Courgette.
Charcuterie Block is used for titles and other key elements such as spell level or potion level. It was designed by Laura Worthington Design and can be found on Adobe Fonts. A similar font would be Boucherie Block (also by Laura Worthington). Other similar free alternatives include: Chunk, Greatlakes, and Amagro Font. All can be found easily online.
Courgette is used for main text, secondary text, and descriptions. It is a free Google Font available directly on Google Fonts.
Both fonts are embedded in the editable PDFs (along with the colors) so there are no compatibility issues regardless of the software you use to edit them.
Charcuterie Block Colors — by Class
Charcuterie Block Colors — Other
Courgette Colors
Font Sizes
| Element | Size | Notes |
|---|---|---|
| Titles | ~10 pt | Adjusted based on character count |
| Spell levels | 14 pt | — |
| General text | 6 pt | — |
| Long text | 5 pt | When text doesn't fit at 6 pt |
| Very long text | 4.5 pt | Exceptional cases only |
Many of you have asked at some point how to make certain adjustments to the PDF files — whether to customize them or to add content that is missing due to licensing reasons. I found a tool that I think covers everything.
The tool is PDF24 Tools. It is free and online, easy to use for any type of user, and I found it quite intuitive. No registration required — it is available as an online tool or as a desktop installer. I was able to make all the adjustments described below with ease, and the only downside I found is that you won't see the final text result until you save the file and open it on your computer — which is a minor inconvenience at most.
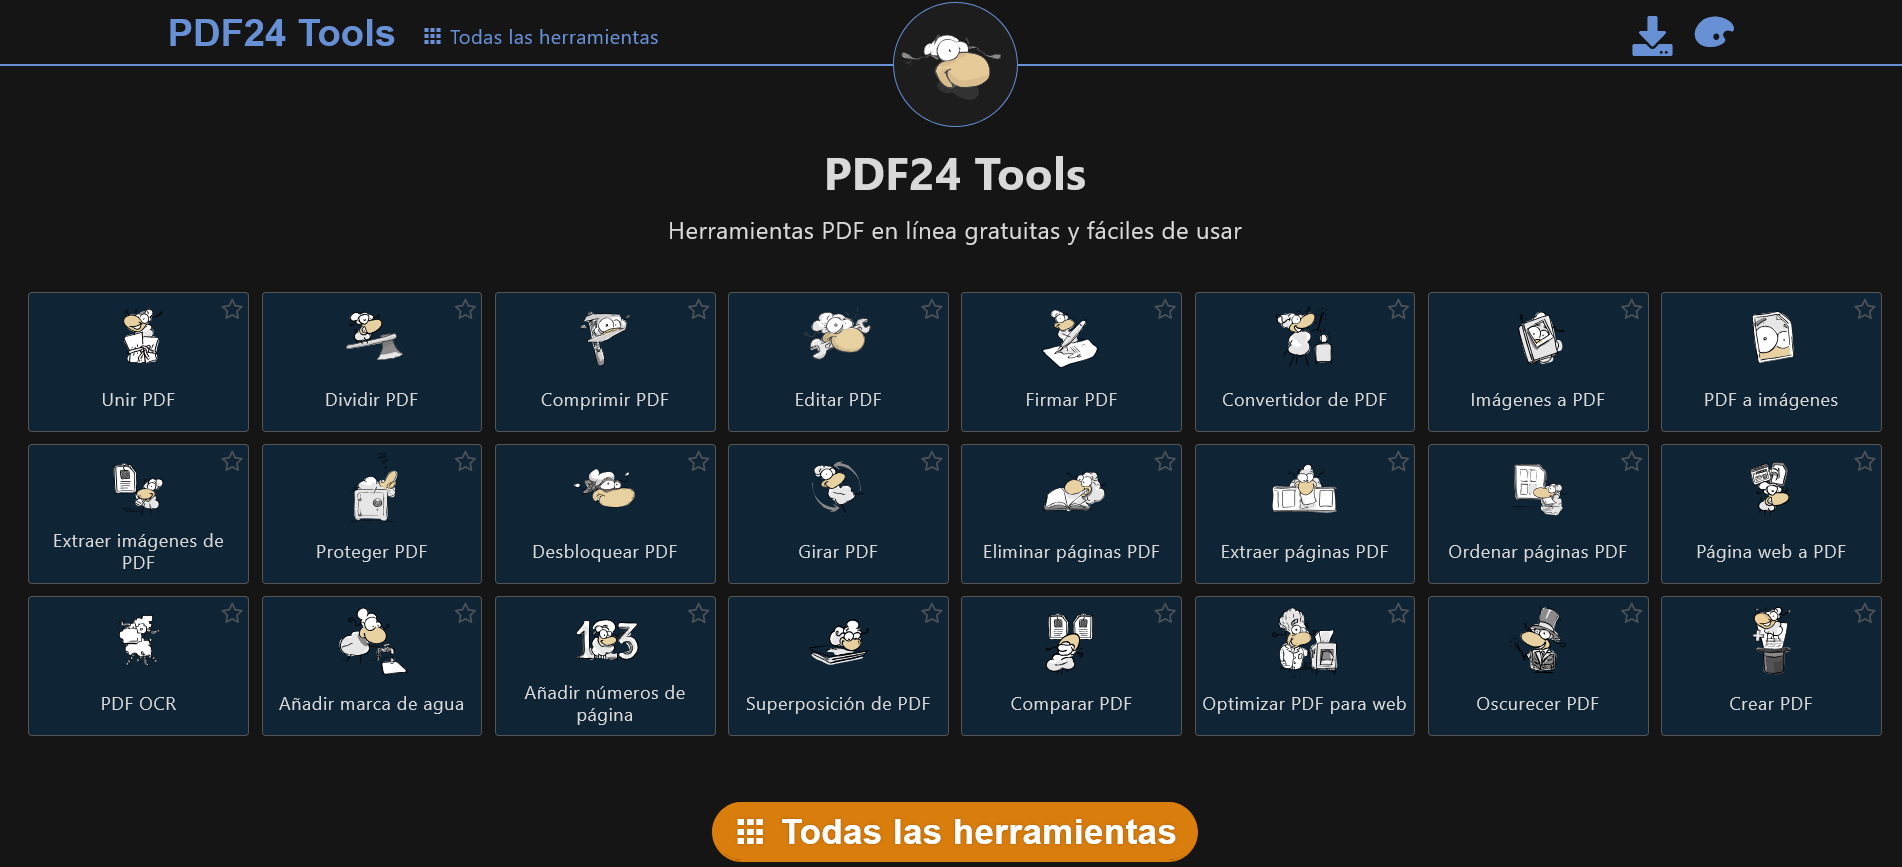
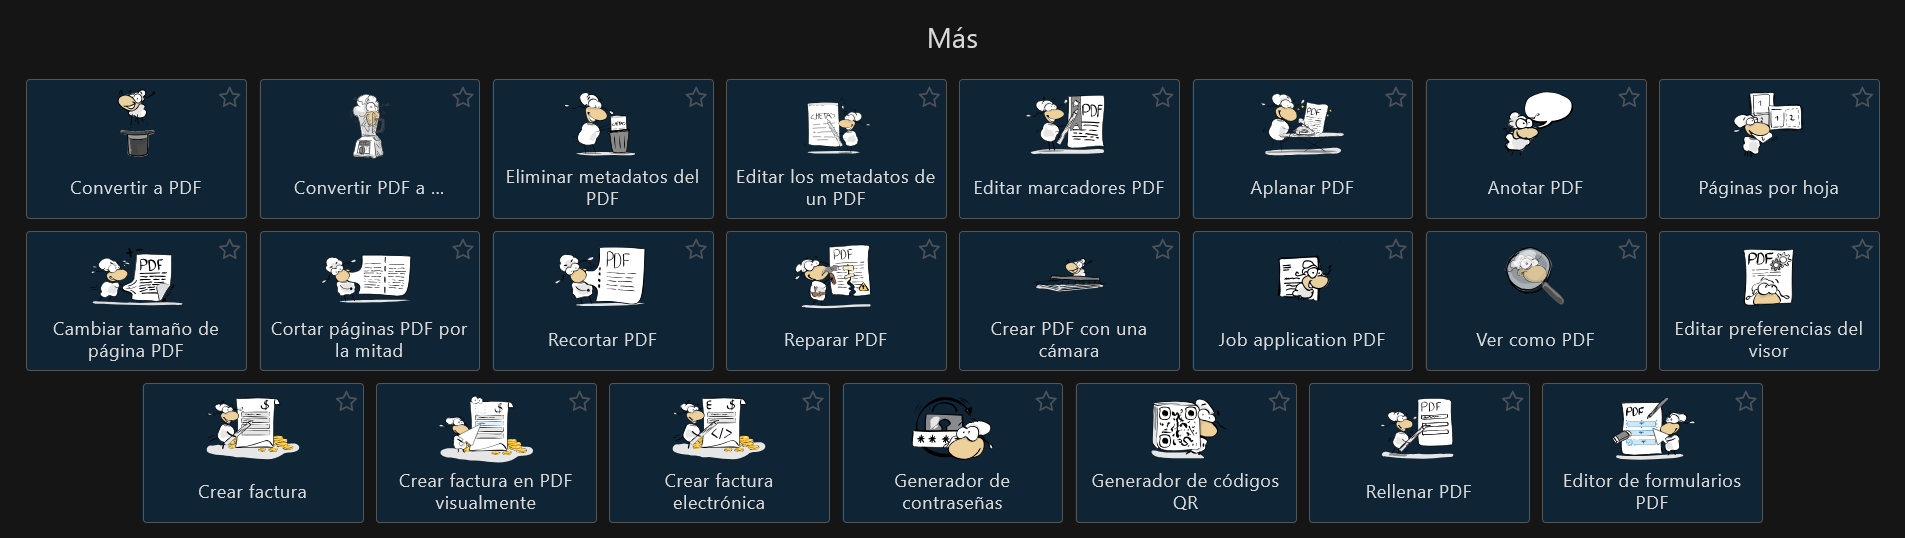
Clicking on "All Tools" reveals the ones I will be using below.
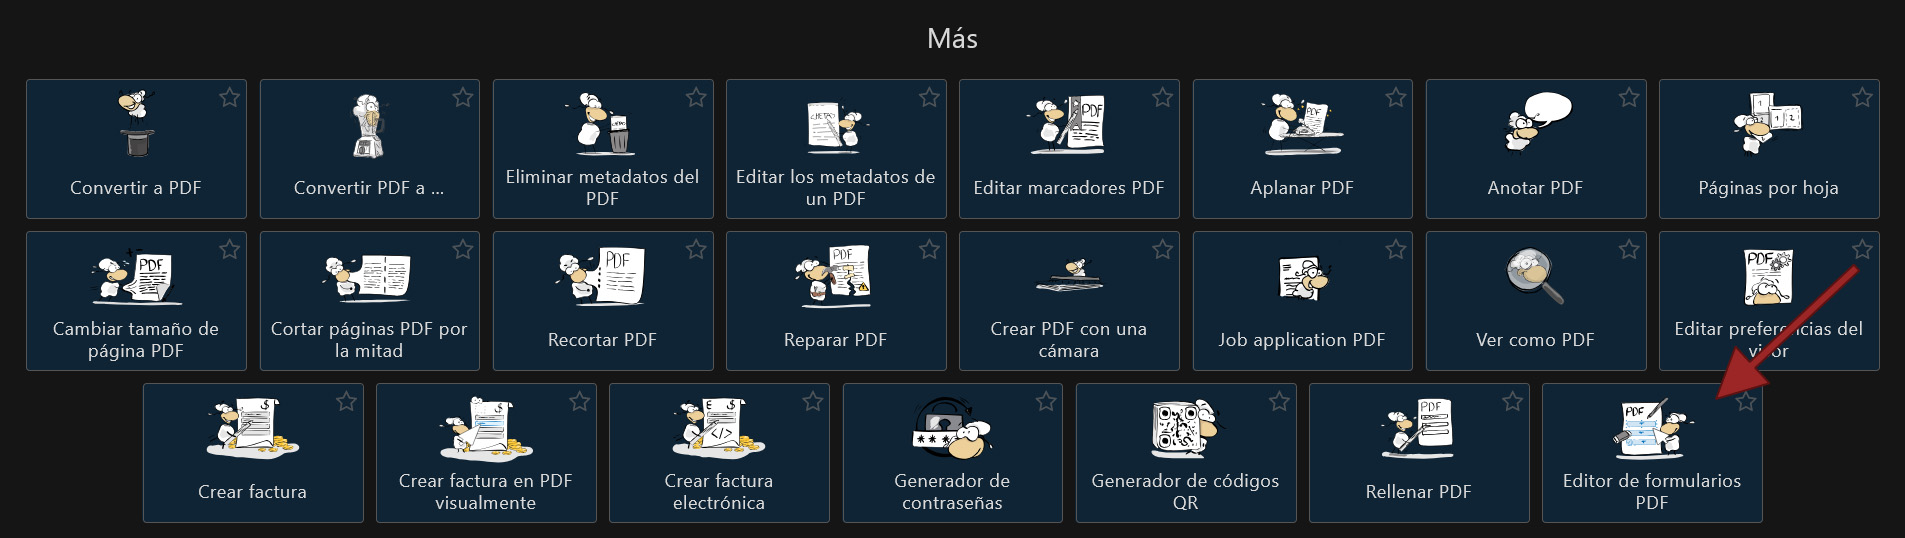


To fill in the form fields, simply click on each box and fill in the "Value" and "Default Value" options within the Properties menu.
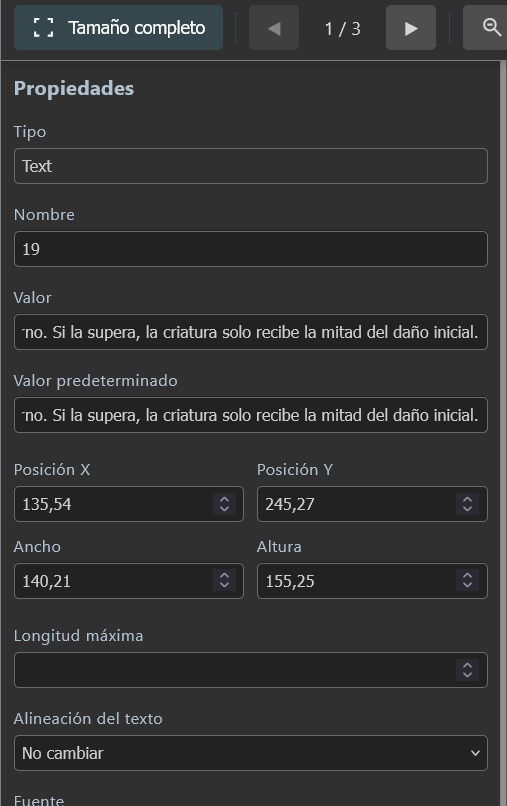
Within the same menu you can also modify other aspects such as the font (you can add your own), colors, size, and more. You can even move, resize, or realign the form fields. Fonts, colors, and sizes are already preloaded by default.
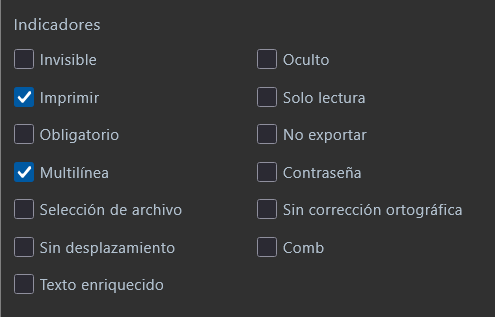
For any edits you make, make sure the "Multiline" option (in the Properties menu) is enabled, so the text displays as a paragraph rather than a single long line.
When you are done, click the "Save PDF" button and the file is ready.
Each editable PDF also comes with a version named with the suffix "empty". Originally intended for those who want to fill it in by hand, it can equally be used to edit the PDF in a different way: by adding elements such as text blocks.

The program offers different options such as adding text, a signature, freehand drawing, images, or shapes. However, any text added will need to be configured (color, font, size...) if you want a result consistent with the pre-designed cards. Refer to the Fonts & Colors section above for the exact values.

The editable back-side PDFs are the simplest way to add your own image to the cards. The result is not as precise as the InDesign + Photoshop version, but it looks quite good.
These PDFs were created with Adobe Acrobat. By default, although they contain text it is not displayed, and depending on the PDF viewer or program, a white fill appears to mark the image area. That area is sized so that any image with a resolution close to 720 × 1024 px will fit without issues.

However, if the image does not match those exact dimensions, white bands may appear around it. This is caused by the field fill, but it has an easy fix.
Fix with PDF24
Open the PDF with the form editor in PDF24 and simply remove the fill from the fields. Save the PDF and it is ready — the fields disappear and appear labeled as "portrait".


Fix with Adobe Acrobat
With Adobe Acrobat you can add your images directly, and for any fields where white bands still appear, you can edit them afterwards to remove them. Simply open the form editor, right-click on the image field to access its properties, and edit the fill and border colors.

Editing the card backs with full control requires a basic level of experience with Photoshop and InDesign. If you prefer a more accessible approach, the previous sections cover the most common use cases.
Photoshop
Inside the Photoshop file (it is recommended to make multiple copies before starting), edit the layer called "EDIT THIS" (right-click → Edit Contents), where you can add or replace the image and crop or adjust it as needed.
Once the image is added and the change is saved, if the image is not centered, select the "EDIT THIS" layer and move it left or right using the arrow keys on your keyboard.

InDesign
The Photoshop file is linked to InDesign. When opening it, you will be asked whether you want to update the content if it has been edited. If it is the same design across all cards, you only need to modify one Photoshop file and it updates automatically.
Otherwise, you will need a separate Photoshop file for each card and will need to relink each unlinked card in InDesign to its corresponding Photoshop file.

Without any further changes, the document is ready to export as PDF. It is recommended to export as a print-ready PDF, standard PDF/X-1a:2001. No additional edits are needed.

